Friday, March 13, 2015

~New Name Same Me~

Boy it's been quite a while since the last time I posted! And a lot has happened!
I started cosmetology school at Spokane Community College and I only have 2 quarters left!! :]
Its been a journey with ups and downs......but mostly ups! :]
Ill be posting pics of my latest master pieces, and progress!
Stay tuned.... ;]

Monday, March 25, 2013

Galaxy Nails

 Hello Blog Buddies! 
Today's nail design has been on my "Must do" list for quite some time!
Now i have finally checked it off the list! 

~Enjoy~


First as always, apply a Base Coat. (You may want to put a second coat)
Then paint all your nails with a Black polish.
Pull off a small piece of a cosmetic sponge, and sponge it in to a White polish create your designs base.
After that you now can apply as many different Neon colors to get your desired look.
To add some Stars place some glitter, or use a toothpick to make small white dots randomly on the nails.


Hope you found this helpful and creative!

If you have any ideas for further nail designs, please comment below! 
Thank you! 

Thursday, February 14, 2013

Valentines Day Nails


Happy Valentines Day!


How To Create this look.
Firs apply a base coat to protect your nails.
Then with a Mint Green polish paint all nails except for your Ring finger.
Apply a Gold Glitter to all Green nails...for added beauty.
Your accent nail (Ring Finger) paint with a pretty Pink polish.
Now for the fun part.
 With a Gold polish and a dotting tool (or toothpick) make a "push and slide" movement to create the hearts! NOTE: This also could be done by making Two dots and connecting them at the base, or creating a "V" with your toothpick.
Finish with a Top Coat.


VUALA Beautimous!! <3
 <3 Hope you had a great Valentines Day! <3


If you have any ideas for further nail designs please comment below!
Let me know if you try this design or any of my other designs by commenting! 
Thank You!! 

Thursday, January 3, 2013

Blood Splatter!

Hey there, wow its sure been a long time since i posted last! 
No worries i still have been painting, and creating new nail designs!


This nail design was for my Friend, and amazing Photographer! haha ;]  
She is totally in to Dexter, blood and stuff like that! So this Design was a total fit!!


First, start out with a base coat.
Next apply 2 coats of a White nail polish.
Then with a Darker Red polish dip
an empty Pen Tube in the polish, and blow across the nail.
keep layering this effect until desired look!
After the polish has dried apply a top coat.


And Voila......Blood Splatter nails!


If you have any ideas for further nail designs comment below!
Let me know if you try this design or any of my other designs by commenting!
Thank you!!

Wednesday, October 17, 2012

Ombre Flower Nails

 Hey Bloggers, this is a design i painted this summer! Fun and cute!

First, always use a Base Coat.
Next Ombre your nails. To learn how to Ombre check out my "Ombre Nails!"!
After that, with White polish paint peddles on each nail in random sides of the nail.
With a color of your choosing, paint on top of the white.
Then in the middle of the flowers paint some Glittery nail polish.
For added affect you could paint vines with a Glittery nail polish as you see in the pictures.
Finally apply a Top Coat to all of your nails.
~Enjoy~


If you have any ideas for further nail designs comment below!
Let my know if you try this design or any of my other designs by commenting!
Thank you!!

Monday, October 8, 2012

Rockin' Checkered Nails

Wow its been awhile since i have done a post, but doesn't mean i haven't been painting nails!

So here is a nail design that i did this summer on my friends nails!
Super Easy Checkered Nails!

First, like always apply a Base Coat on all of your nails.
Next paint your nails a color.....i used Red.
After that make a Vertical line and a horizontal line in your other color...i used Black!
Then fill in two of the boxes with the same color you used to make the lines.
Lastly Paint your top coat.
Enjoy!

Let me know if you try this look!
If you have any Nail Design ideas for me to try Please comment below!
Thank You!

Thursday, July 5, 2012

Independence Day Nails

This simple Patriotic nail design is fun and festive!

First Apply a base coat.
Next paint your Thumb, Index, Middle, and Pinky finger nails a Red color.
Paint your Ring Finger Blue.
With a striper or toothpick make two lines with a White Polish.
 In between White lines paint a Blue line.
Now on the blue nail i put a nail-art sticker and free handed a firework. 
Depending on your preference you could do both or just one.
Last apply a Top Coat.

Hope you had a Great 4th of July!
If you have any suggestions for further nail designs please Comment below! 
~Enjoy!~

Wednesday, June 13, 2012

Tribal Nails

I though i would Challenge my line skills on this fun/funky Tribal nail design!

Start out with a Base Coat
Next with 3 colors of your choice paint your nails like this.

After that comes the more challenging part of the nail design! 
With a black striper or your tooth pick out line the colors, and apply dots and lines.
Finally apply a Top Coat! 


~Enjoy~

If you have any suggestions for further nail designs Please comment below! :]
Thank you!

Friday, June 8, 2012

Minnie Mouse Bow Nails

These super cute and simple nails are fun for any Season!

Start out with a Base Coat.
Then with a Red polish paint your ring finger and thumb. 
With the same Red polish paint the tips of the remaining nails.
Next with your Dotting tool, or Tooth pick place Polka Dots on the Tipped nails.
After that paint a Black line on the Smile line.

Now on to the Bow!!
Paint two Triangles like so.

Then out line with Black, and add small details.

For a little sparkle add a small Rhinestone, or a dot of a Sparkly polish to the middle of the bow.
Finally apply your Top Coat to make your nail design last! 

~Enjoy~
If you have any suggestions for future nail designs Please Comment Below! :]
Thank You!

Saturday, June 2, 2012

Pink Cheetah

Pink and shimmery!


Apply your Base Coat
Next one coat of Pure Ice "Desire You"
Then with a toothpick draw either two semi circles or one semi circle with two dots.

After that place a dot of Pure Ice "Iced Merlot" between the black lines.
Finaly Apply a Top Coat.

~Enjoy~
If you have any suggestions for future nail designs please comment below!
Thank you :]

Wednesday, May 23, 2012

Sweet Strawberries!


These nails are Super Cute!


Start out with a Base Coat
Apply a Pink or Red polish.
Next With a Yellow polish apply random Dots.
Then with a Green polish paint on the Leaf design.
Finally add a Top Coat!

~Enjoy~
If you have any suggestions for further nail designs please Comment below!
Thank you! :]

Monday, May 21, 2012

French Tips with Flair!

Super classic French Tip design with a little flair!

As always i started with a Base Coat
Then with a White Striper paint the smile line.
After that I added Six Hexagon Sparkles, Two on the top of the both corners, and Two in the middle.
Last i Applied a Top Coat.

~Enjoy~
If you have any suggestions for further nail designs please Comment below!! 
Thank You :]

Wednesday, May 16, 2012

Ombre Nails!

These are a fun Spring/ Summer nail Design!

So i started with a Base Coat.
Next i painted one coat of Sally Hansen "Mint Sorbet"
After that is the "Ombre" technique, and to accomplish this you will need a makeup sponge. 
Then paint two colors of your choosing on the sponge light to dark.
When applying it to you nails place the sponge one-third on your nail.
 Starting from one side of your nail and with a rolling motion end on the opposite side.
I found that if  you place the sponge a tiny but more towards the cuticle you get a more faded look after your first application!

I hope you try out this design!! 
~Enjoy~

Tuesday, May 15, 2012

Splatter

This nail design is something i have been wanting to try out for awhile now!
 It was a bit messy but Allot of fun!

After you apply a Base Coat you will want to put paper on your work surface, 
and place tape around your nail.  
This design is messy! 
I Painted my nail with one coat of Wet N Wild "The Wonder Yellows"
After that cut a straw in thirds.
Then dip one end in your color, and blow threw the straw about 3 inches away from your nail.
Colors i used:
Sally Hanson "Hot Magenta"
Sally Hanson "Plum Power"
Wet N Wild "Club Havana"
Pure Ice "Free Spirit"
Lastly apply a Top Coat!

~Enjoy~

Thursday, May 10, 2012

On the Fly Nails!

This nail design is super simple, and great for on the fly!

First apply a Base Coat.
Paint Nail with your favorite color.
Next with another Color start painting at the Corner of  the Cuticle,
 and end your brush stroke at the Opposite Tip of your nail.
After that IF you chose you can add a nail decal/sticker for an extra affect.
Finally apply a top coat. 

~Enjoy~

Wednesday, May 9, 2012

Bright Tips!

These bright Orange and Purple tips are a fun/funky design.

I started with a Base Coat
Then Painted the Purple (Wet N Wild: Through the Grapevine) Tip.
Next i painted over the purple with Sparkles (Wet N Wild: Hallucinate).
After that i used my Medium Dotting tool,
 and made 4 Orange (Wet N Wild: Club Havana) dots half on the purple.
Last But Not Least a Top Coat!

~ENJOY~

Tuesday, May 8, 2012

Spring Floral!

Super cute Floral Nail Design!
Started with a Base coat
2 coats of Wet N Wild- Tickled Pink
Next i took a Dark Pink and made small blotches.
Then with a mix of Tickled Pink, Dark Pink, and a toothpick i drew
After that i added 2 small Green leafs

And finally i added a top coat! :]
I enjoyed this Design Very Much!!

Monday, May 7, 2012

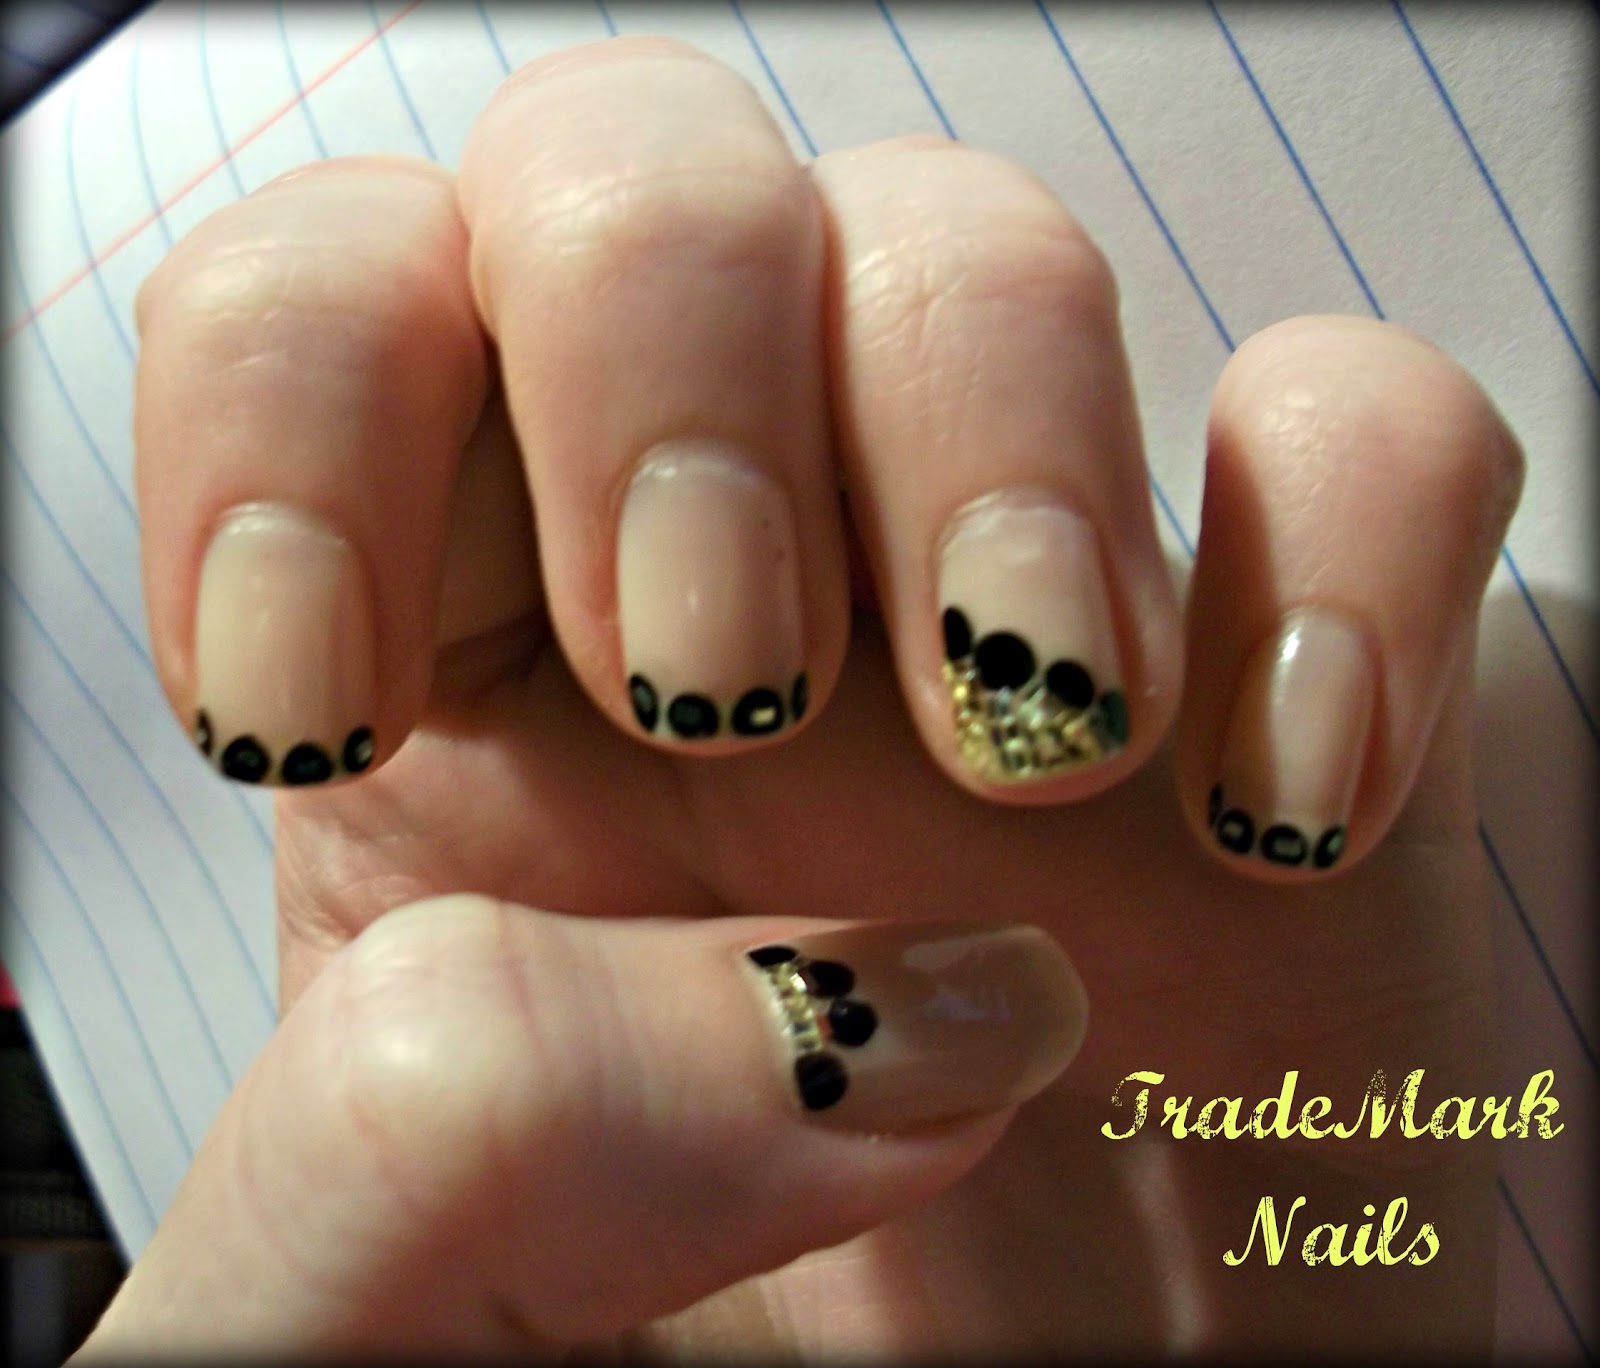
Simple Shinny Nails!

This nail design was so simple!
 First i painted a light beige color on my nails, and then added the black dots. 
Finally i placed Square Glitter on my thumb and ring finger! 

Saturday, May 5, 2012

Girly Glittery Tiger Stripes!

A Fun Girly spin on Tiger Stripes! 

Wet n Wild: Sparked
Pure Ice: Black Rage